Backdoor Drop Zone

When we eliminated the pantry closet in our kitchen remodel so we could move the backdoor we also eliminated the wall where we hung all our coats, bags etc. So I have been on a hunt for a hall tree that was sturdy, simple, and could not be knocked over my a 16 month old. 

Target came through with this Madison Coat Rack on casters. 

Although downsizing has its challenges we really enjoy living in more of our home.

1960’s Kitchen/Bath Remodel- DONE!

IMG_8680

We are so enjoying our “new” home. While there are still some areas that need work we have come so far! We are so thankful for all the contractors, including my dad, who spent hours on our home and for my parents who let us live with them for 10 weeks.

Peery Homes

Upstate Kitchen and Bath

Campbell Tile

NWH Enterprises (tile installation)

And so many more!

IMG_8681IMG_8684IMG_8699IMG_8701IMG_8693IMG_8691IMG_8692IMG_8705IMG_8709
IMG_8715IMG_8716

1960’s Kitchen/ Bath Remodel part 6

We are on day 35 of our house renovation project.

I knew most of the light fixtures, tile and decor that I wanted before we started this project, but there were a few things I wanted my husband’s help with so last week he and I finalized our paint colors and picked our new toilets.

Sheetrock and hardwood floors went in this week.

IMG_20170809_202351

IMG_20170809_202409IMG_20170809_202444IMG_20170809_202455IMG_20170809_202522IMG_20170809_202536

At the last minute we decided to tear out the tiny built-in on the right side of the fireplace.

IMG_20170809_203809Screenshot_20170731-124241

While it was cute it was not very practical. And once we tore it out we realized there was actually quite a bit of dead space behind it. We plan to do some stained wood shelves with over-sized baskets like the photo above for extra storage.

Bathroom tile, cabinets, and trim will be installed in the next week or so!


1960’s Kitchen/Bath Remodel- part 5 (with videos that actually play)

Seeing as I am the IT person for this blog I’m not surprised that the videos from Wednesday’s post did not work.

Sheetrocking starts this week so I walked through part of the house so you all could see all the work that has been done in the last week and a half.


And because I screwed up yesterday’s post here is a video of my baby laughing. You are welcome.


1960’s Kitchen/Bath remodel part 4

So when we moved into this house we knew that the kitchen and bathrooms would be the first things we remodeled. I was a dummy and forgot to take before photos of the jack and jill bath, but it was finished exactly the same as our other bathroom in the photo below. Lots of white tile, retro flooring and a cast iron tub.

45_1317206_11_1457444843batholdnewbath

The primary issue with this bathroom was ALL THE DOORS. It is a good sized bath, but all the doors made it feel cramped. By converting the jack and jill bath into the main guest/kid bath we added lots of floor space that was originally taken up by the door swings.

While I would have loved to turn this into a girly powder bath with fun wallpaper it will be the primary bath for my son AND guests. So I tried to keep the girliness to a minimum.

I had hoped to reuse the old cast iron tub, but it was damaged accidentally during demolition so we are replacing it with a new cast iron tub.

We are planning to do a white hex tile on the floor, and an over-sized subway tile on the walls of the shower, all with an antimicrobial grey/beige grout.


progress-lighting-lynzie-collection-3-light-chrome-bath-light-d3703573-147a-46ee-a86c-6aae9e5eb1f2_600

somertile-10-5-x-11-inch-victorian-hex-matte-white-2-inch-porcelain-mosaic-wall-tile-case-of-10-6540f0f5-ba55-4083-9ad2-a9cd4b540695_600
Floor tile

chrome-widespread-bathroom-faucet-l14162217

portland-36-single-vanity-burnished-mahogany-00c8a2a4-8bd0-439e-b3d3-de342ea5718b_600
Vanity
744704354730_07977815
Wall tile
IMG_20170727_135924061
Countertop

IMG_20170708_230739_395

Next post is a video walking tour of the whole project in process…

1960’s Kitchen/Bath Remodel- part 3

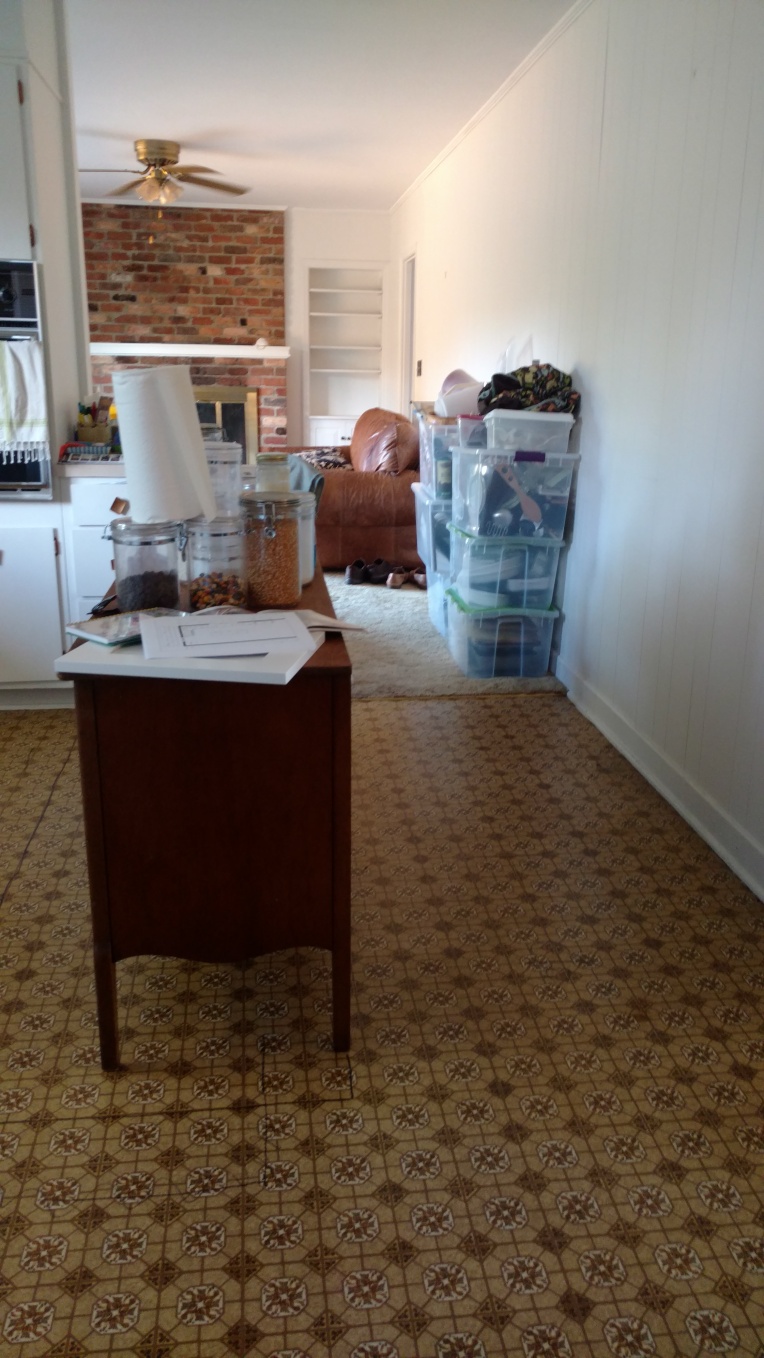
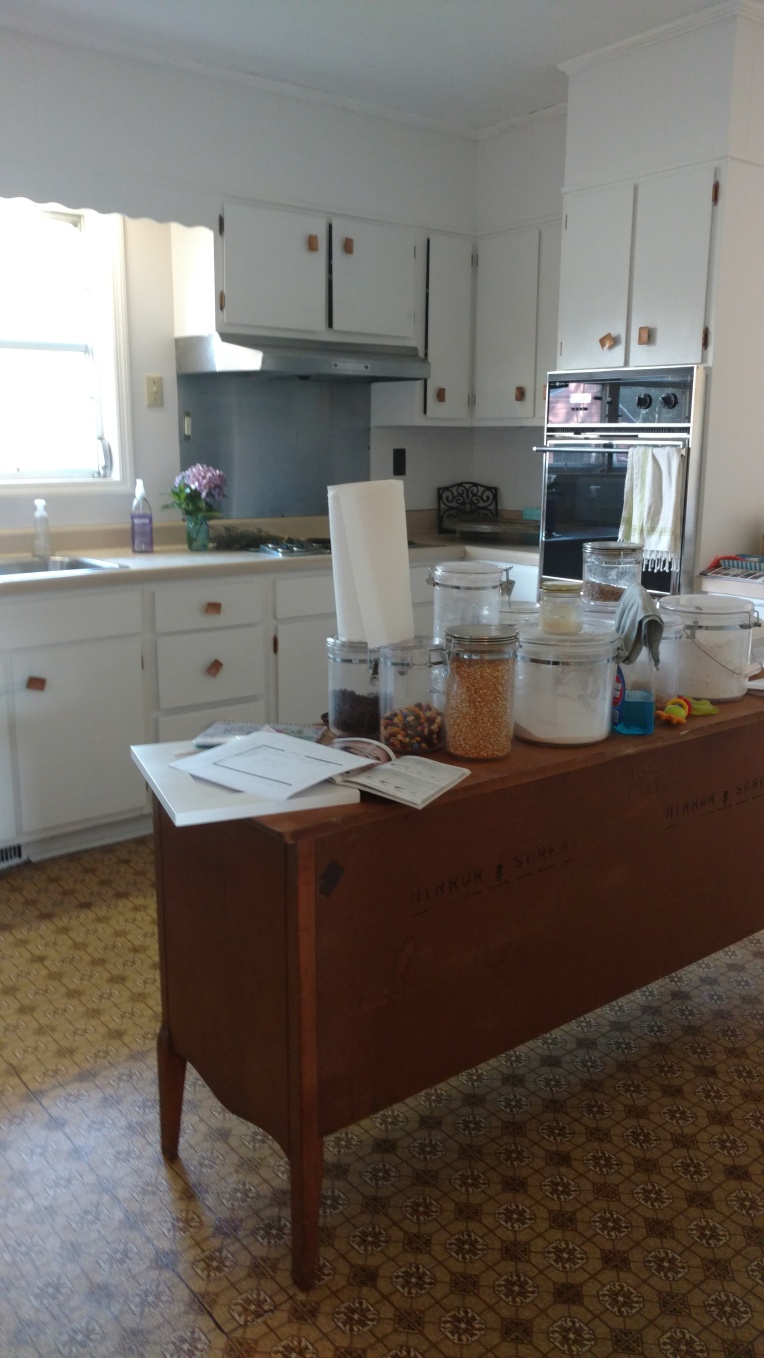
Let’s recap. Below is our new floor plan: move the back door, open up the entrance to the dining room, add a big island and remove the l-shaped cabinet in the kitchen. myimage3


jea-286-96pc-s3

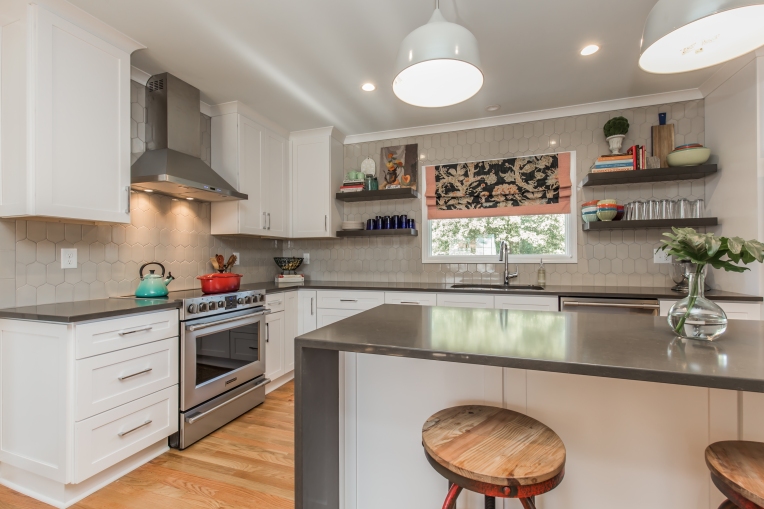
My selections: Silestone Countertop in Calypso, Walker Zanger Cocoon Tile in Fog, Frigidaire Professional line appliances, Hansgrohe Focus HighArc Kitchen w/PullDown, Cavaliere-Euro 30-inch Wall-mount Modern Range Hood

To view our preliminary cabinet design click here ⇒Beagle Design 7-13. 

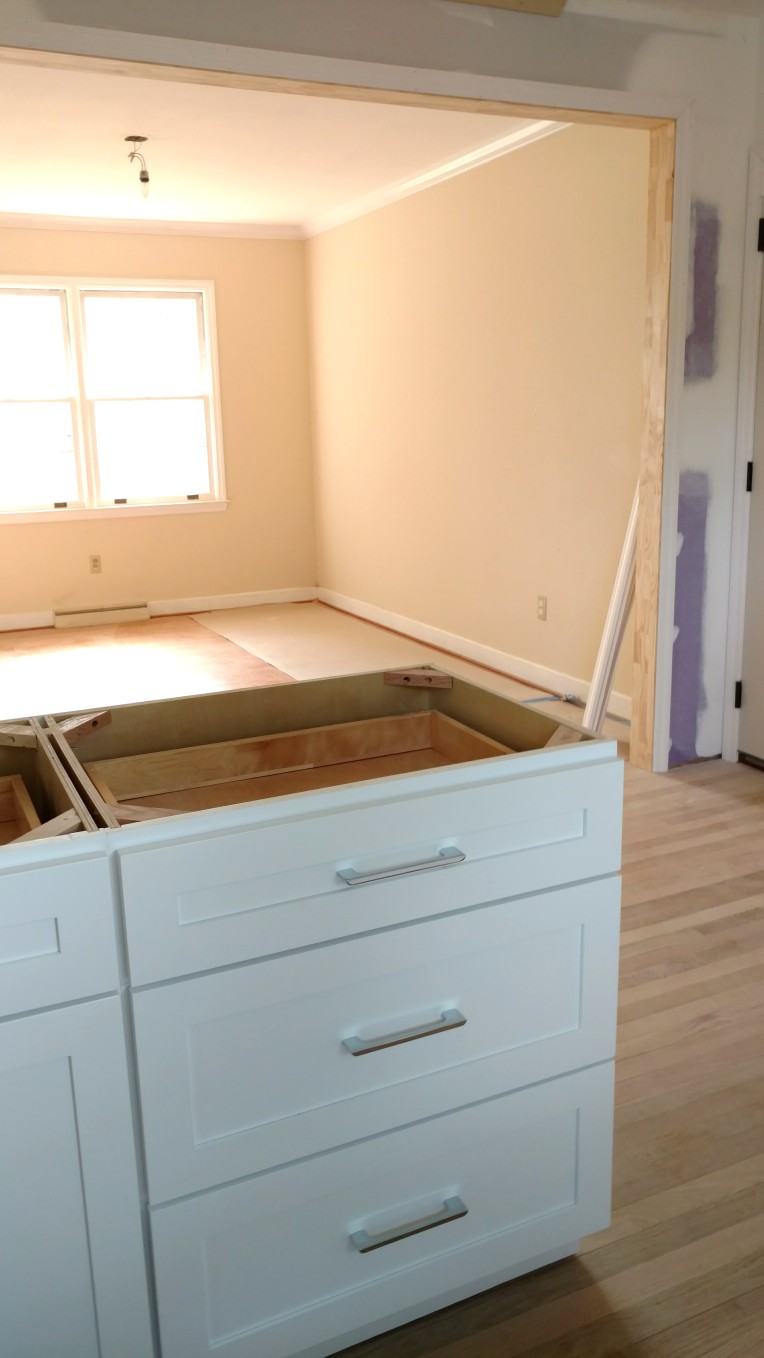
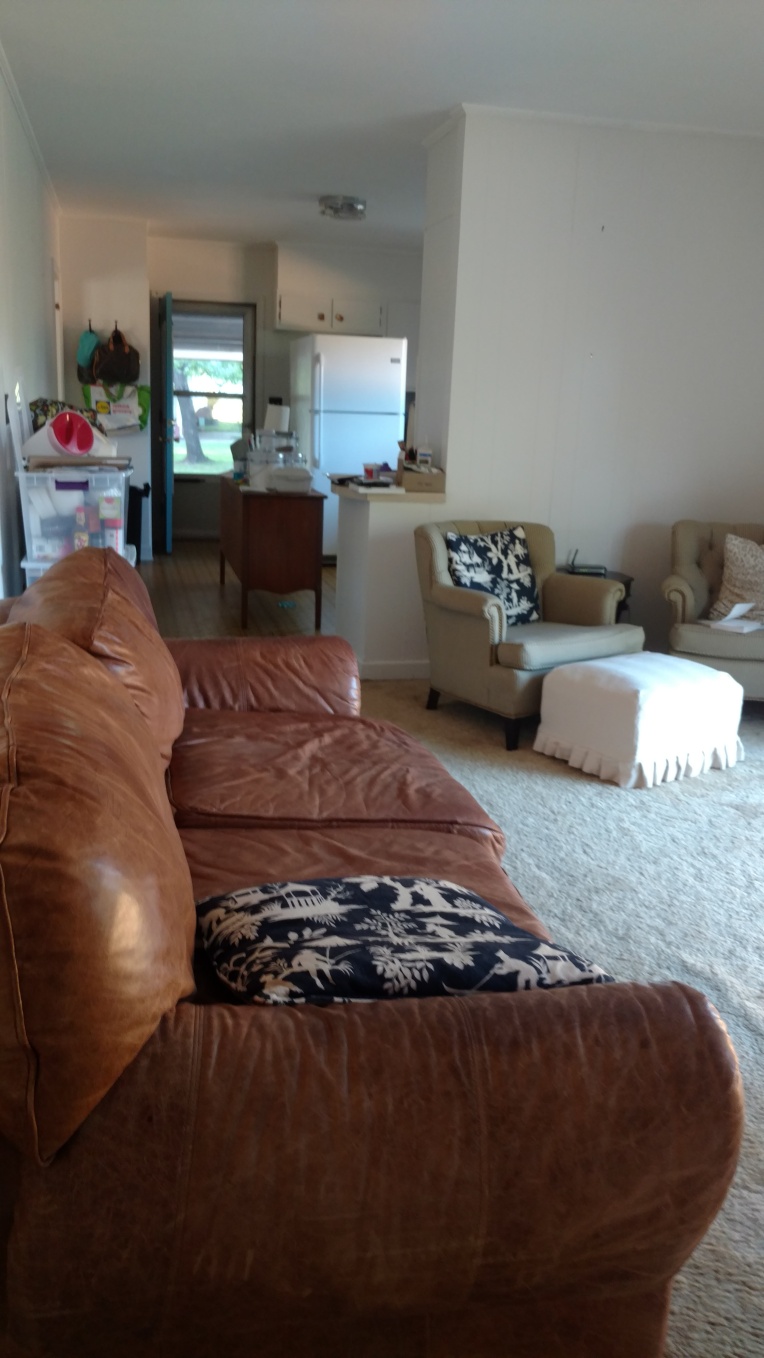
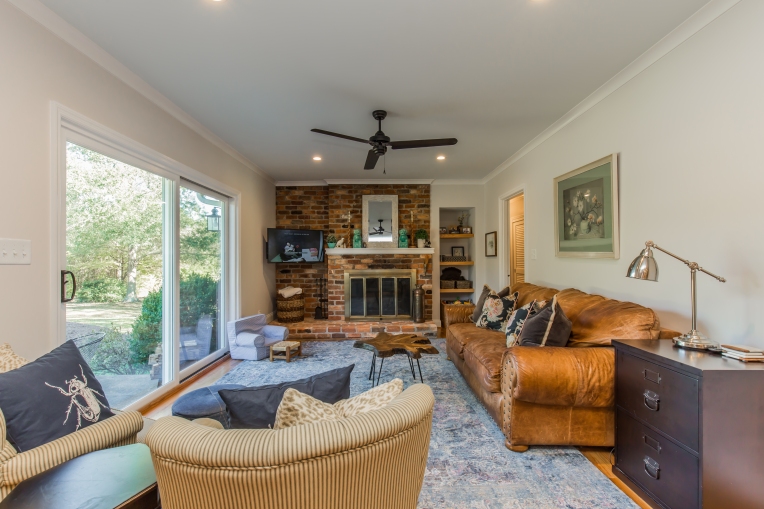
I am going with a simple white cabinet. It reflected both my husband and mine style the best. We are replacing the HUGE 8ft sliding glass door that is almost impossible to open and close. We LOVE all the light it provides. The kitchen window is also getting replaced with a big picture window.


IMG_20170725_100533145_HDR


dishes-drinks-and-artwork-on-open-shelving-in-a-modern-kitchen

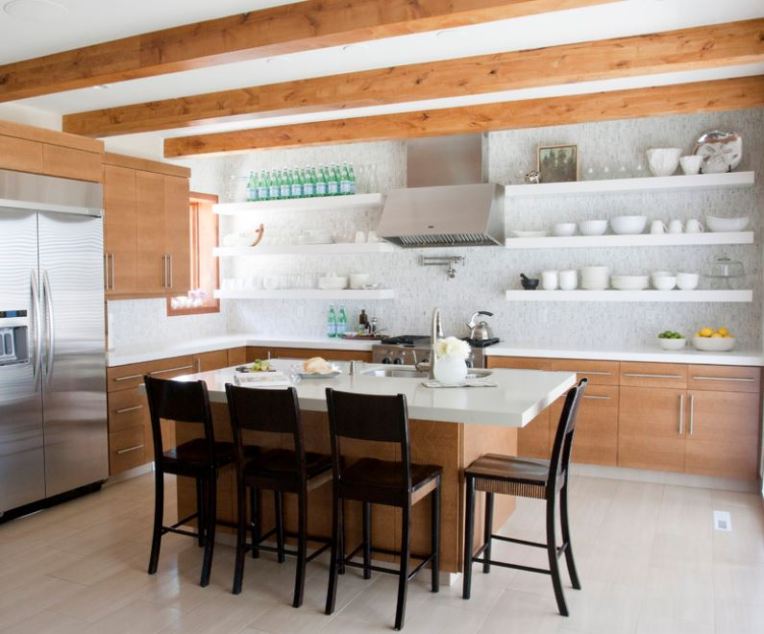
So in addition to new cabinets, we are adding open shelving similar to what we had in our other home. We really have missed having it. While the overall look will be different this photo really shows the look I am going for with the shelving.

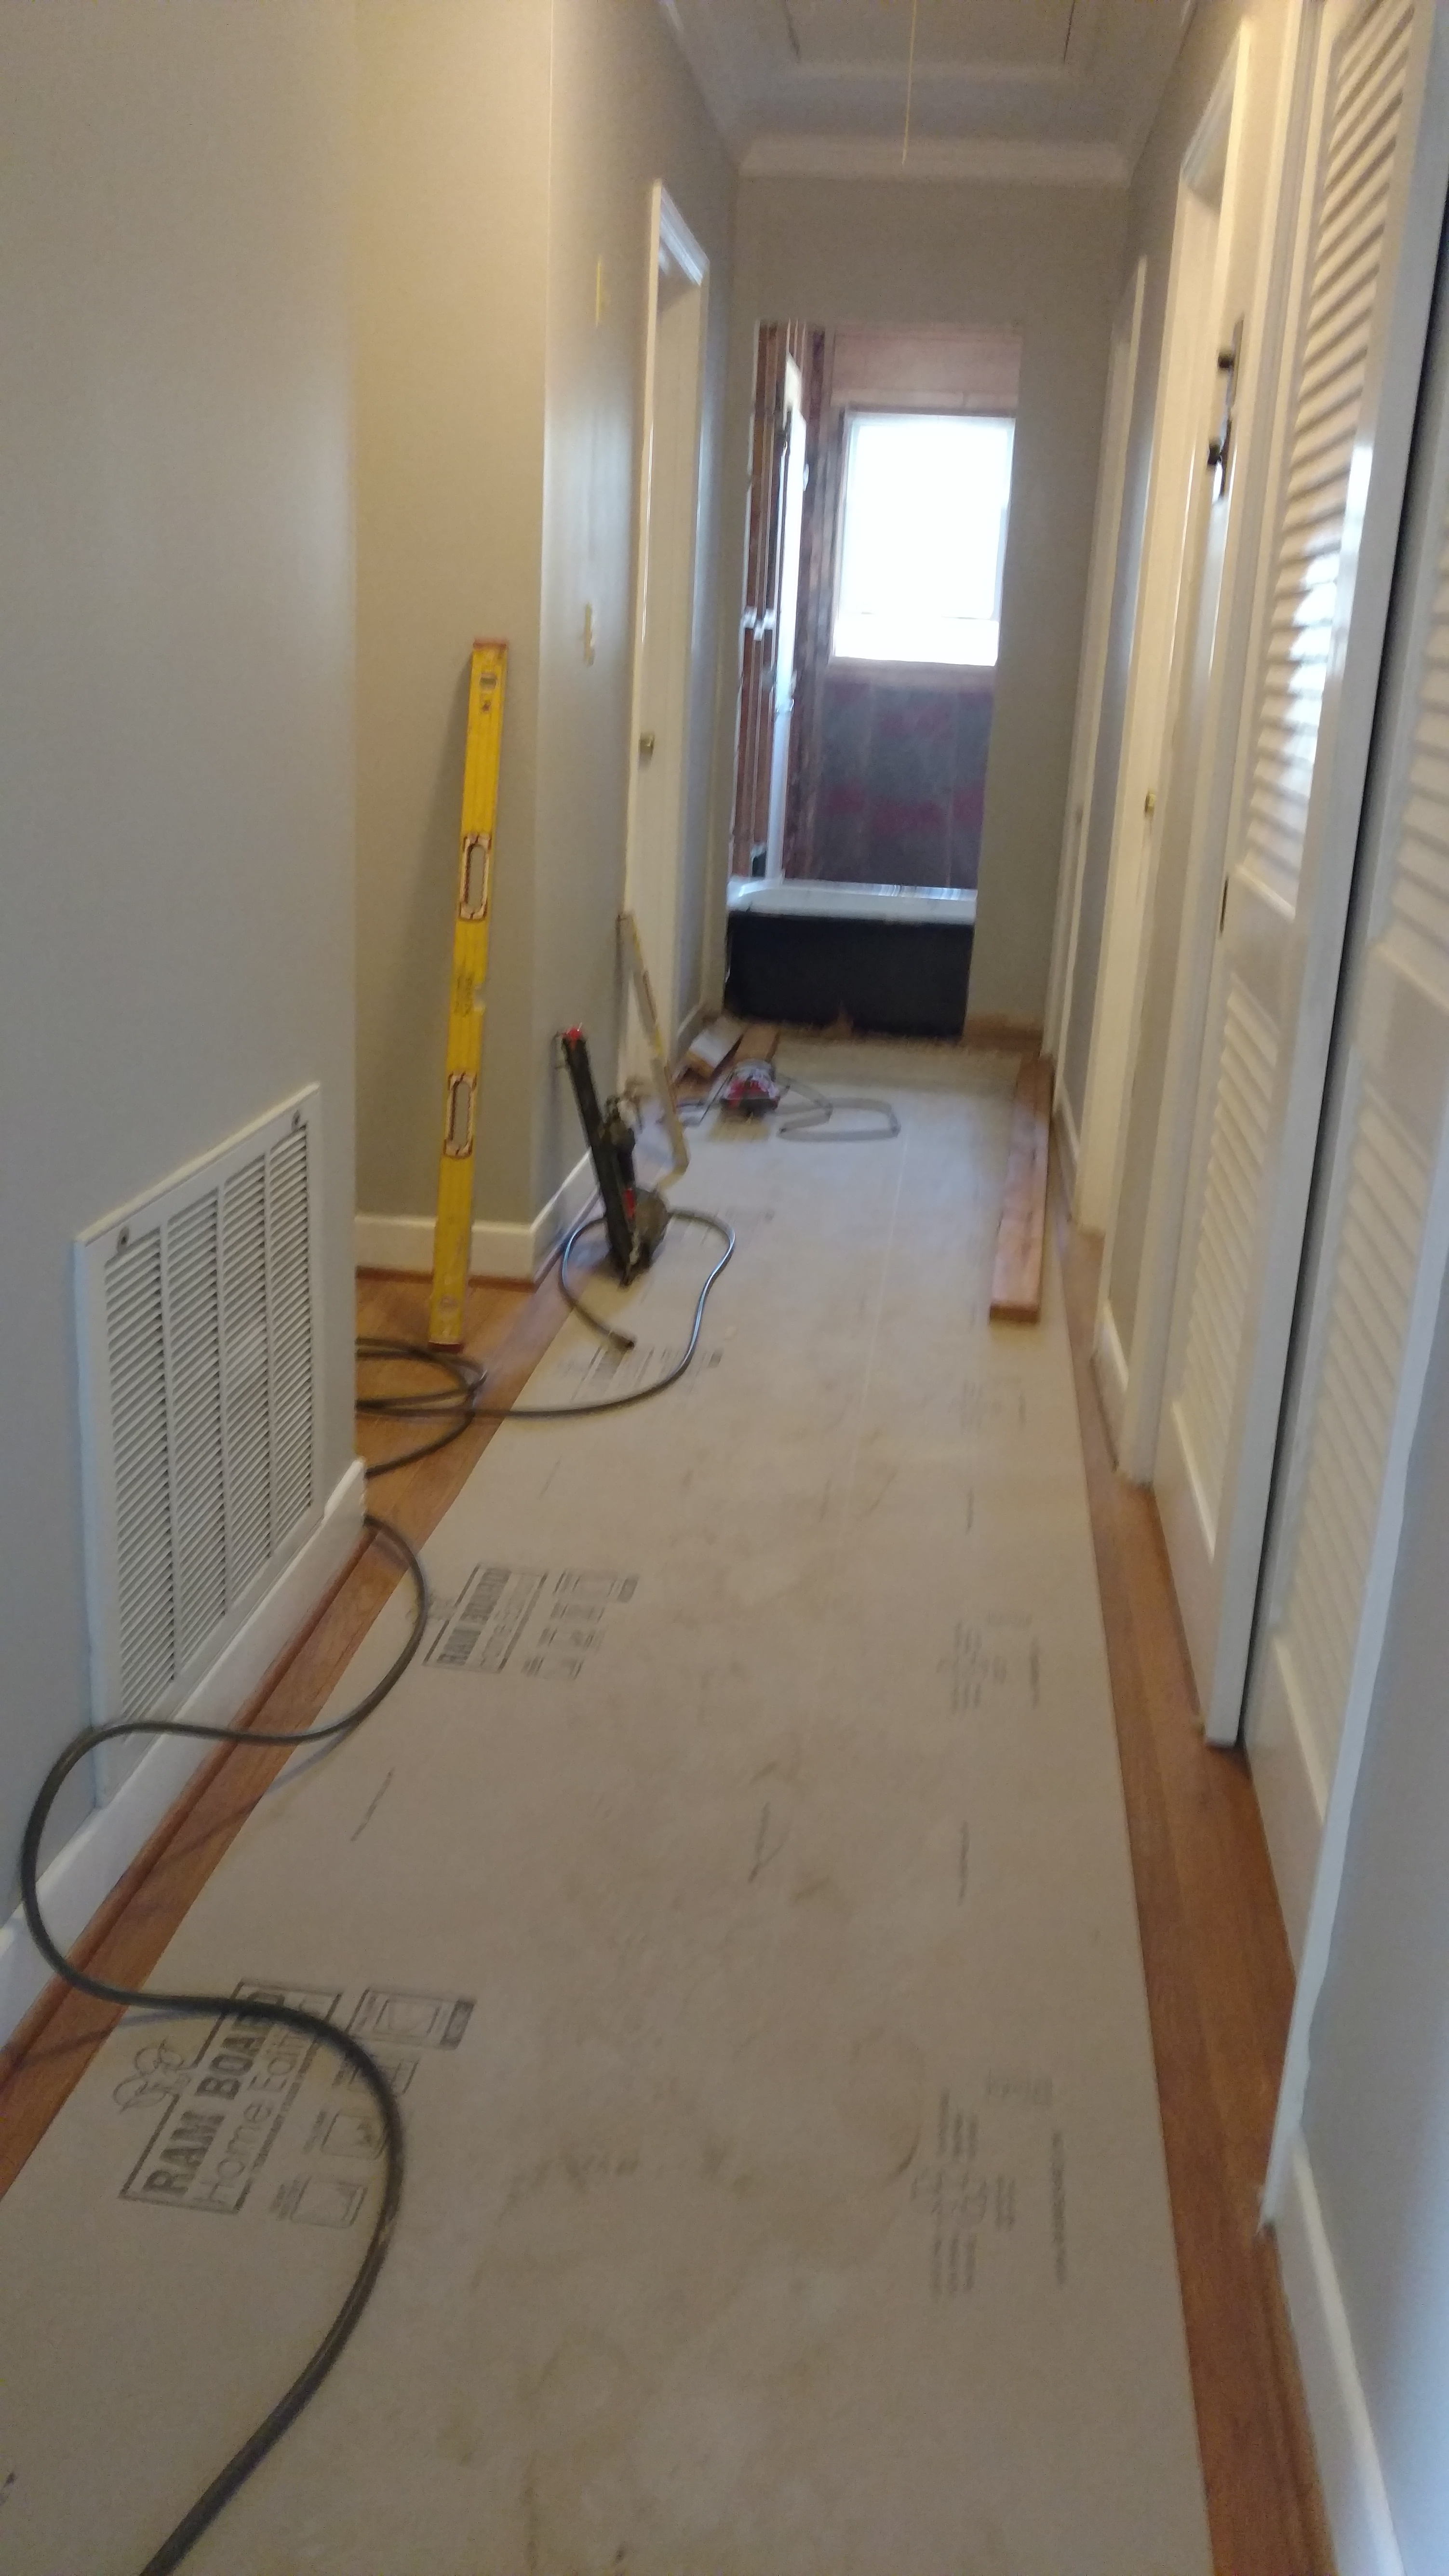
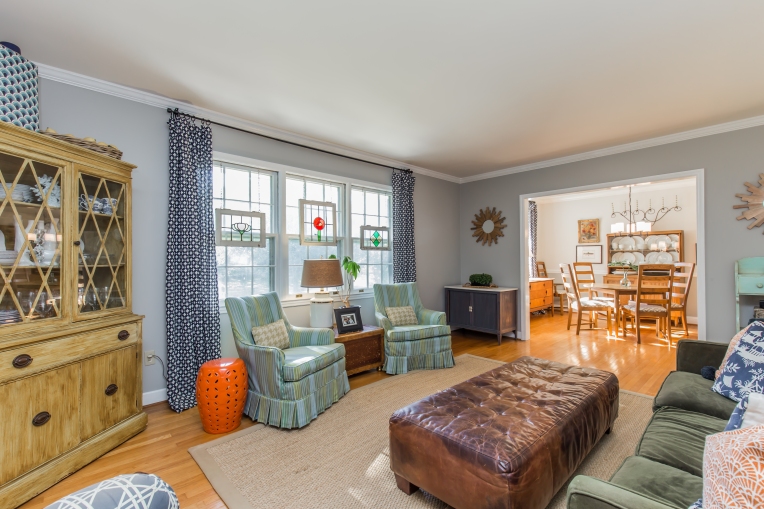
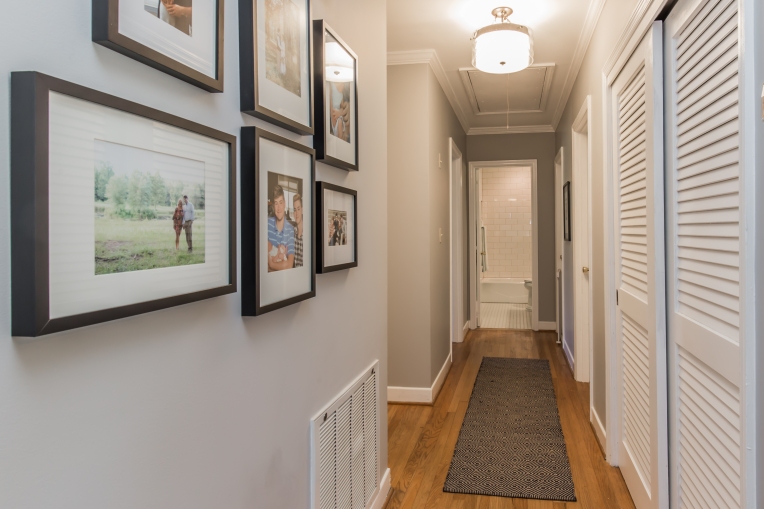
We had hoped that there were original hardwood floors under the carpet and vinyl flooring in the kitchen and family room but there was not. Thankfully the contractor is going to match the new hardwood flooring to what is in the rest of the house.

redoakflooring

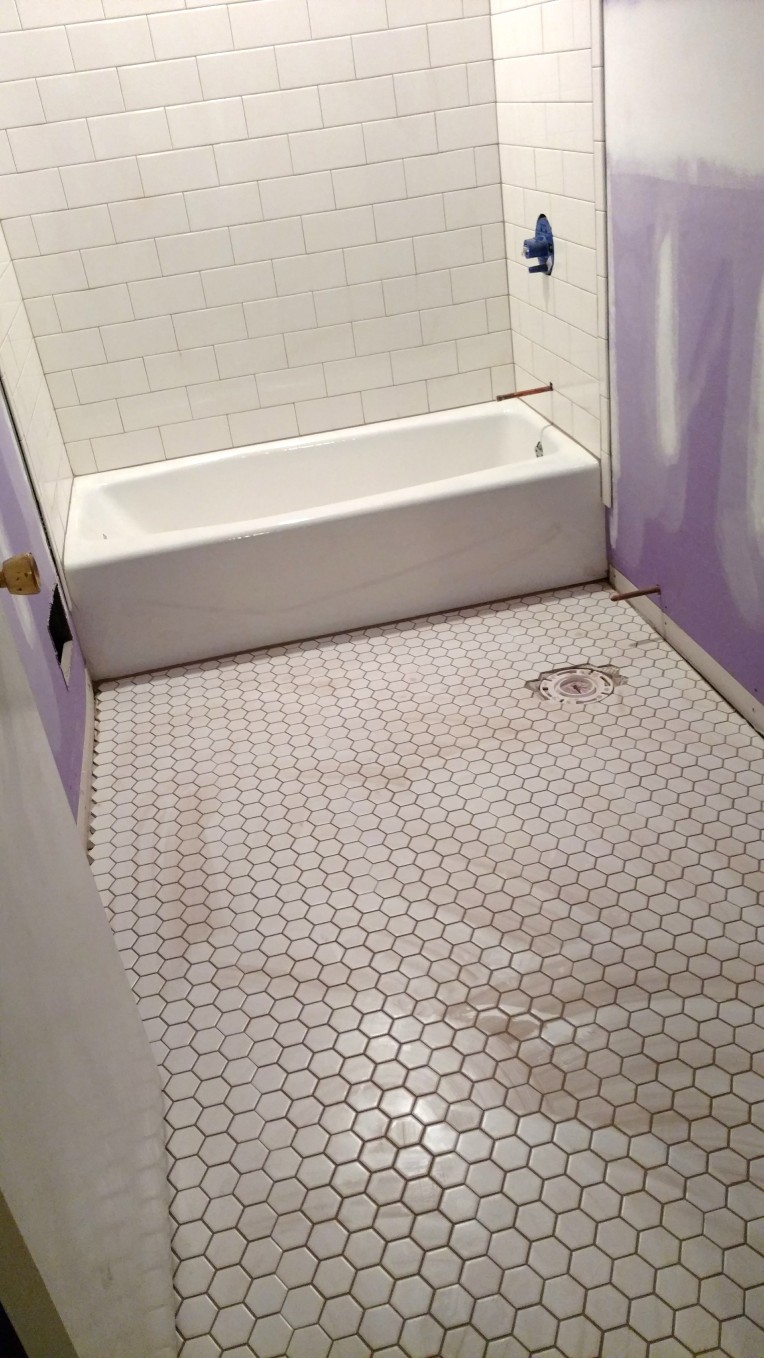
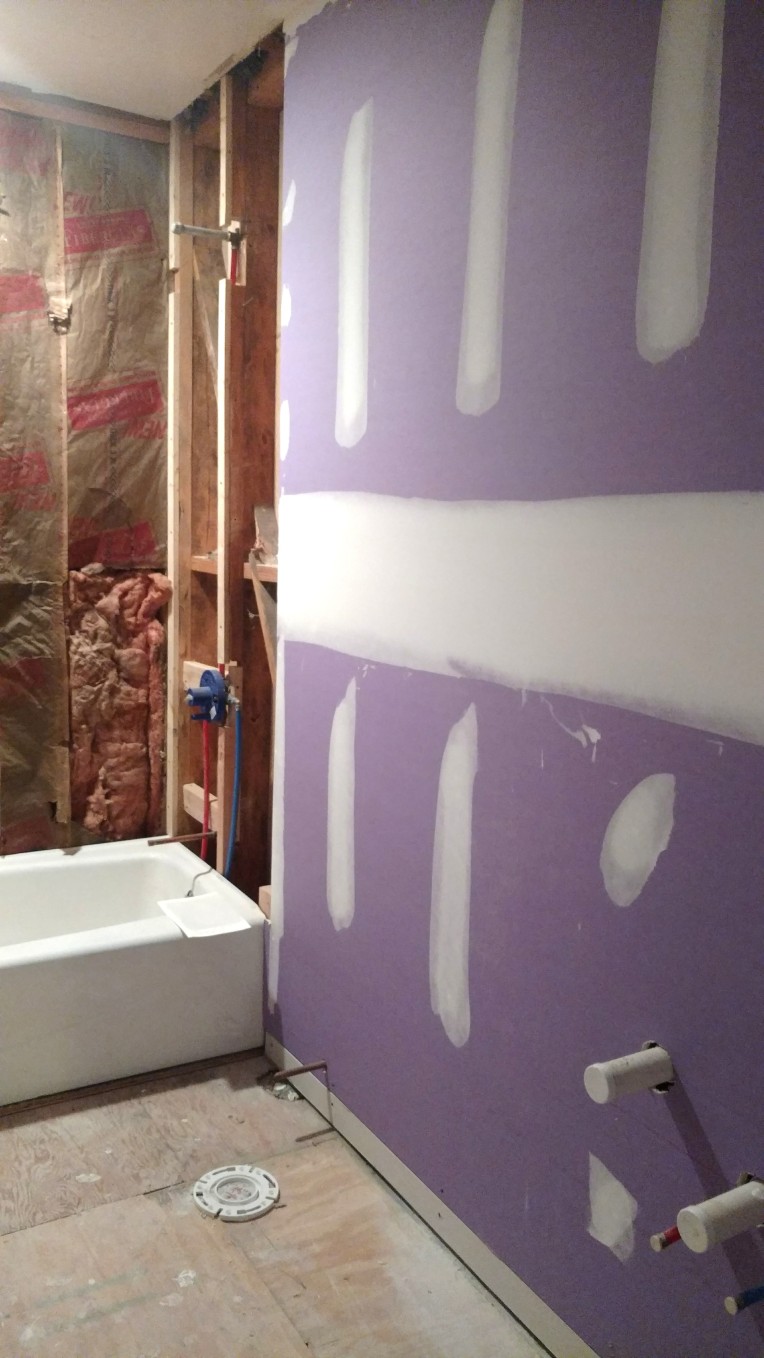
Next post…the bathroom renovation.
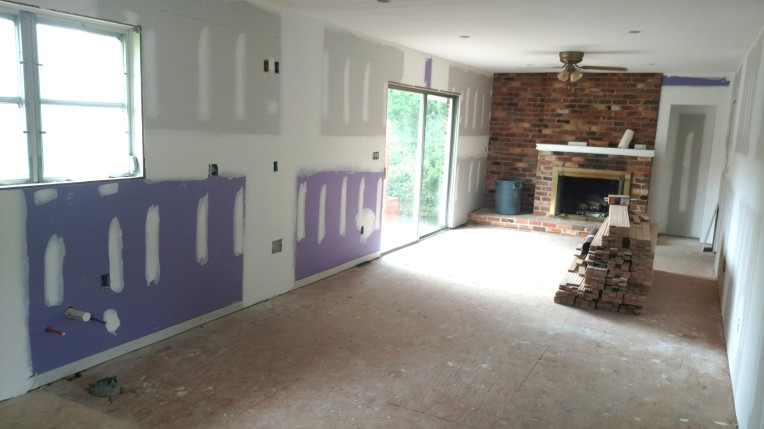
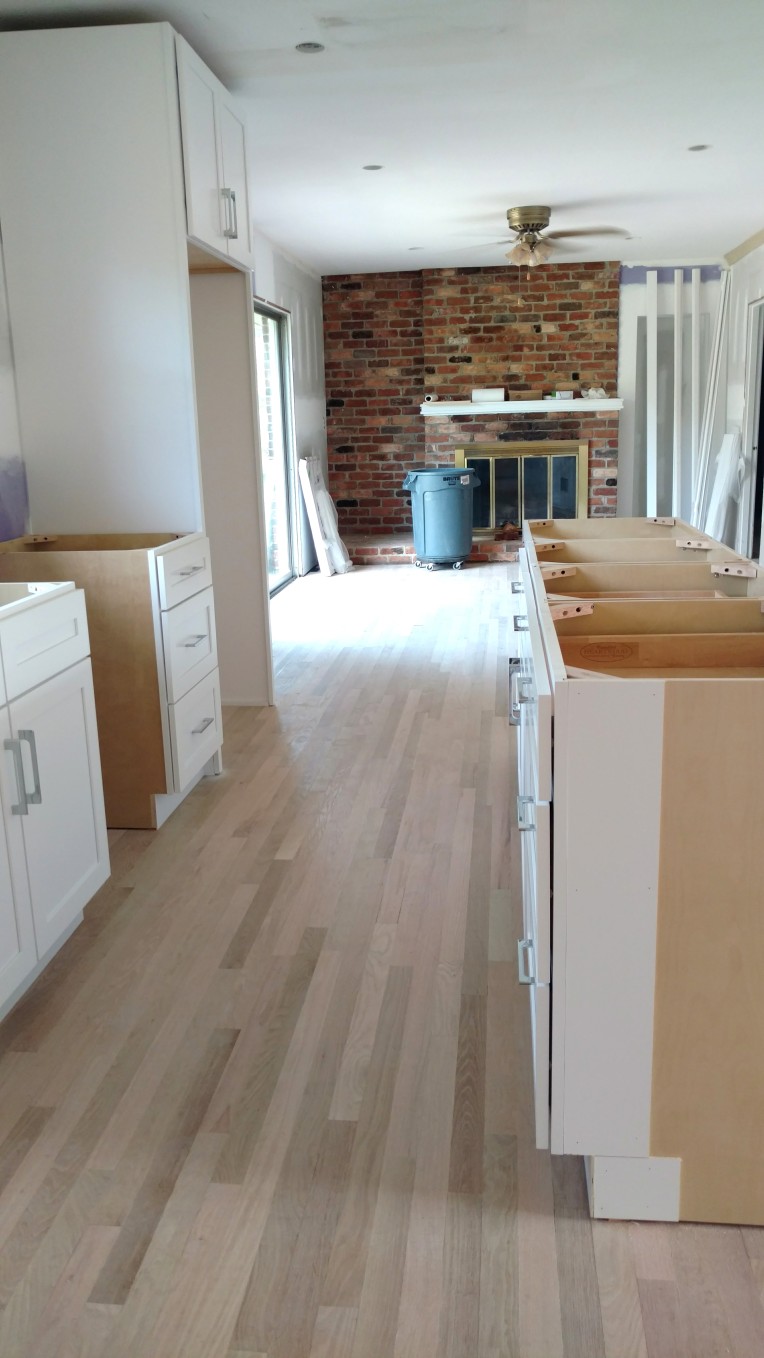
1960’s Kitchen/Bath Remodel- part 2

I am going to warn you. It’s going to get really ugly before it gets pretty again. Here is the “torn apart living spaces” as we packed and sorted to get ready for all the demolition. This also shows what little updating we had done. We just painted the cabinets and paneling in the kitchen and keeping room. And the reason for painting these rooms was that I knew that I have a tendency to really be affected badly by dark rooms. So that combined with a new baby and postpartum hormones made for a bad combo. The lightness the paint created really helped my mental state.IMG_20170713_192035444

That buffet-like piece of furniture is in the middle of the kitchen to help us envision the size of the island. IMG_20170713_192053839IMG_20170713_192104200

Right now the two rooms feel a little cramped and choppy despite being quite large.

Here is the old floor plan. There were two main structural issues with these rooms. The first being the giant L-shaped cabinets that block most of the natural light and the beautiful bricked fireplace. The other issue is the opening into the dining room is a very narrow door.

myimage2

So as we lived in the house for the last few months we were able to make notes of what worked and what didn’t with the spaces. Below are the drawings I came up with. While it temporarily eliminates the pantry behind the door, I gain a LOT of usable cabinet space. I also plan to add a large island and open up the spaces between the kitchen and dining room. During phase 2 of our remodeling I plan to add a mudroom/pantry as well as a laundry room.

myimage3


Next post is cabinet design and selections of tile, appliances, etc…